Bok Choy, Radish & Celery Ferment

A perfect and pretty side dish

Chop. Chop. Time to harvest and preserve the bok choy and radishes coming out of the garden. In this ferment, I use just the stems of bok choy and add celery to keep it crunchy. The red radishes offers a bit of spice and a pretty rosy hue.  Below is my recipe, such as it is. The fermentation process lends itself to experimentation and variation.  I change proportions of ingredients based on what is available from my garden or fresh in the grocery store, usually making quart size containers at a time.  Having a few different ferments bubbling away on the kitchen counter or in the refrigerator allows me to serve several small side dishes (Korean-style) alongside main dishes at dinner.  I also use this ferment in salads, veggie roll-ups or as a garnish on crackers with cheese or spreads too. The variation at the table not only stimulates interest but digestion as well.

In Vegetable Fermentation Further Simplified, Sandor Katz gives the lowdown on how to ferment any vegetable. Trust me – fermentation seems exotic but it is really super easy. If you are looking to get into fermentation, follow his guidelines and you’ll be making very original side dishes and manufacturing your own tasty probiotics in your kitchen in no time.  I’d love to hear about what you are fermenting.

Fermented Bok Choy, Radish & Celery

A few bunches of bok choy (only use white stems)

1 bunch red radishes (thinly sliced)

3 – 5 stocks celery

2-3 tablespoons of salt (amount of salt depends on volume of veggies and taste). Experiment!

(You can add garlic or any spice you please to this ferment as well)

Place chopped bok choy stems, celery and thinly sliced radishes in a flat dish and sprinkle salt over veggies. Let sit for a few hours until fluid is released from veggies. After washing hands, you can also massage veggies to release more fluid if necessary.

This time I used a Japanese pickle press to submerge my veggies but if you don’t have this handy kitchen tool, you can pack vegetables into a wide mouth canning jar or crock. Ideally, veggies are totally covered in salt brine but if not then add water. If you are using a crock, submerge veggies with a weight on top of a plate. If you are using a canning jar, you can use a double plastic baggie filled with water to submerge veggies. 

Use a rubber band to secure cheesecloth or fabric over jar or crock to keep flies out and let sit on counter for 4 -7 days. The speed of ferment will depend on amount of salt and outside temperature. The longer you let it ferment, the tangier the taste will be. I generally let this ferment sit for 4-5 days. Taste your ferment frequently.

Place in refrigerator when you like the taste.

Non-gluten Bread

IMG_1407The fall season is upon us, and naturally I crave heavier richer foods. Especially carbohydrates. Toast with butter, to be specific. But, here’s the thing – I try to limit carbohydrates, especially breads. How I satisfy my craving for bread is by making non-gluten bread recipes, even though I am not gluten intolerant. Because they are flourless and made of fermented grains, non-gluten breads offer more nutrients per calorie. If I’m going to eat bread, it has to satisfy my cravings and be worth its heft for my slower winter.

Here are two non-gluten bread recipes I found that are simple, flavorful, and most importantly, unfussy. They are infinitely amenable to variations. I always add hemp seed and more salt, especially on the top of the loaf.

This buckwheat bread is really simple, hearty and inexpensive: https://breadtopia.com/gluten-free-fermented-buckwheat-bread/

This quinoa/millet bread, although more complex, has a sweet nutty flavor and when it is toasted the edges crisp up just right: https://www.wholeheartedeats.com/the-unbelievable-bread_20-html/

Fermented Kohlrabi

IMG_0803Chop. Chop.  Time to harvest and preserve the kohlrabi.  I had a hunch kohlrabi would make a good ferment because as a brassica it is sweet, similar in color, and crunchy like cabbage, but this outer-worldly looking vegetable is even more versatile.  In this ferment, I added Hungarian hot wax peppers to give subtle spice, and indeed, the combo created a delicate balance of flavors.

IMG_0814Below is my recipe, such as it is.  The fermentation process lends itself to experimentation and variation.  I change it up based on what is available from my garden or on sale in the grocery store, usually making just quart size containers at a time.  Having a few different ferments bubbling away on the kitchen counter or in the refrigerator allows me to serve several small side dishes (Korean-style) alongside main dishes at dinner.  The variation at the table not only stimulates interest but the digestion as well.

IMG_0808In Vegetable Fermentation Further Simplified, Sandor Katz gives the lowdown on how to ferment any vegetable.  If you are looking to get into fermentation, follow his guidelines and you’ll be making very original side dishes and manufacturing your own tasty probiotics in your kitchen in no time.  I’d love to hear about what you are fermenting.


Fermented Kohlrabi

3 – 4  kohlrabi

2 Hungarian hot wax peppers

2 teaspoons salt


Peel skin off kohlrabi and shred in cuisine art or mandolin.

Place shredded kohlrabi in bowl and sprinkle 2 teaspoons of salt over kohlrabi.

Wash hands and massage kohlrabi until you’ve squeezed out as much liquid as possible.

Mix in diced hot wax peppers

Pack vegetables into a canning jar.

Pour liquid over the top of vegetables.

Fill plastic baggie with enough water to weigh down kohlrabi so it is submerged under liquid (usually just 1/2 cup of water).

Place on kitchen counter in a bowl.  As it ferments it will bubble up and excess will spill into bowl.

Wait 3 – 7 days, or more.  Taste often until flavor appeals to you.

Cover with a lid and place in refrigerator.


Shio-Koji

IMG_0618
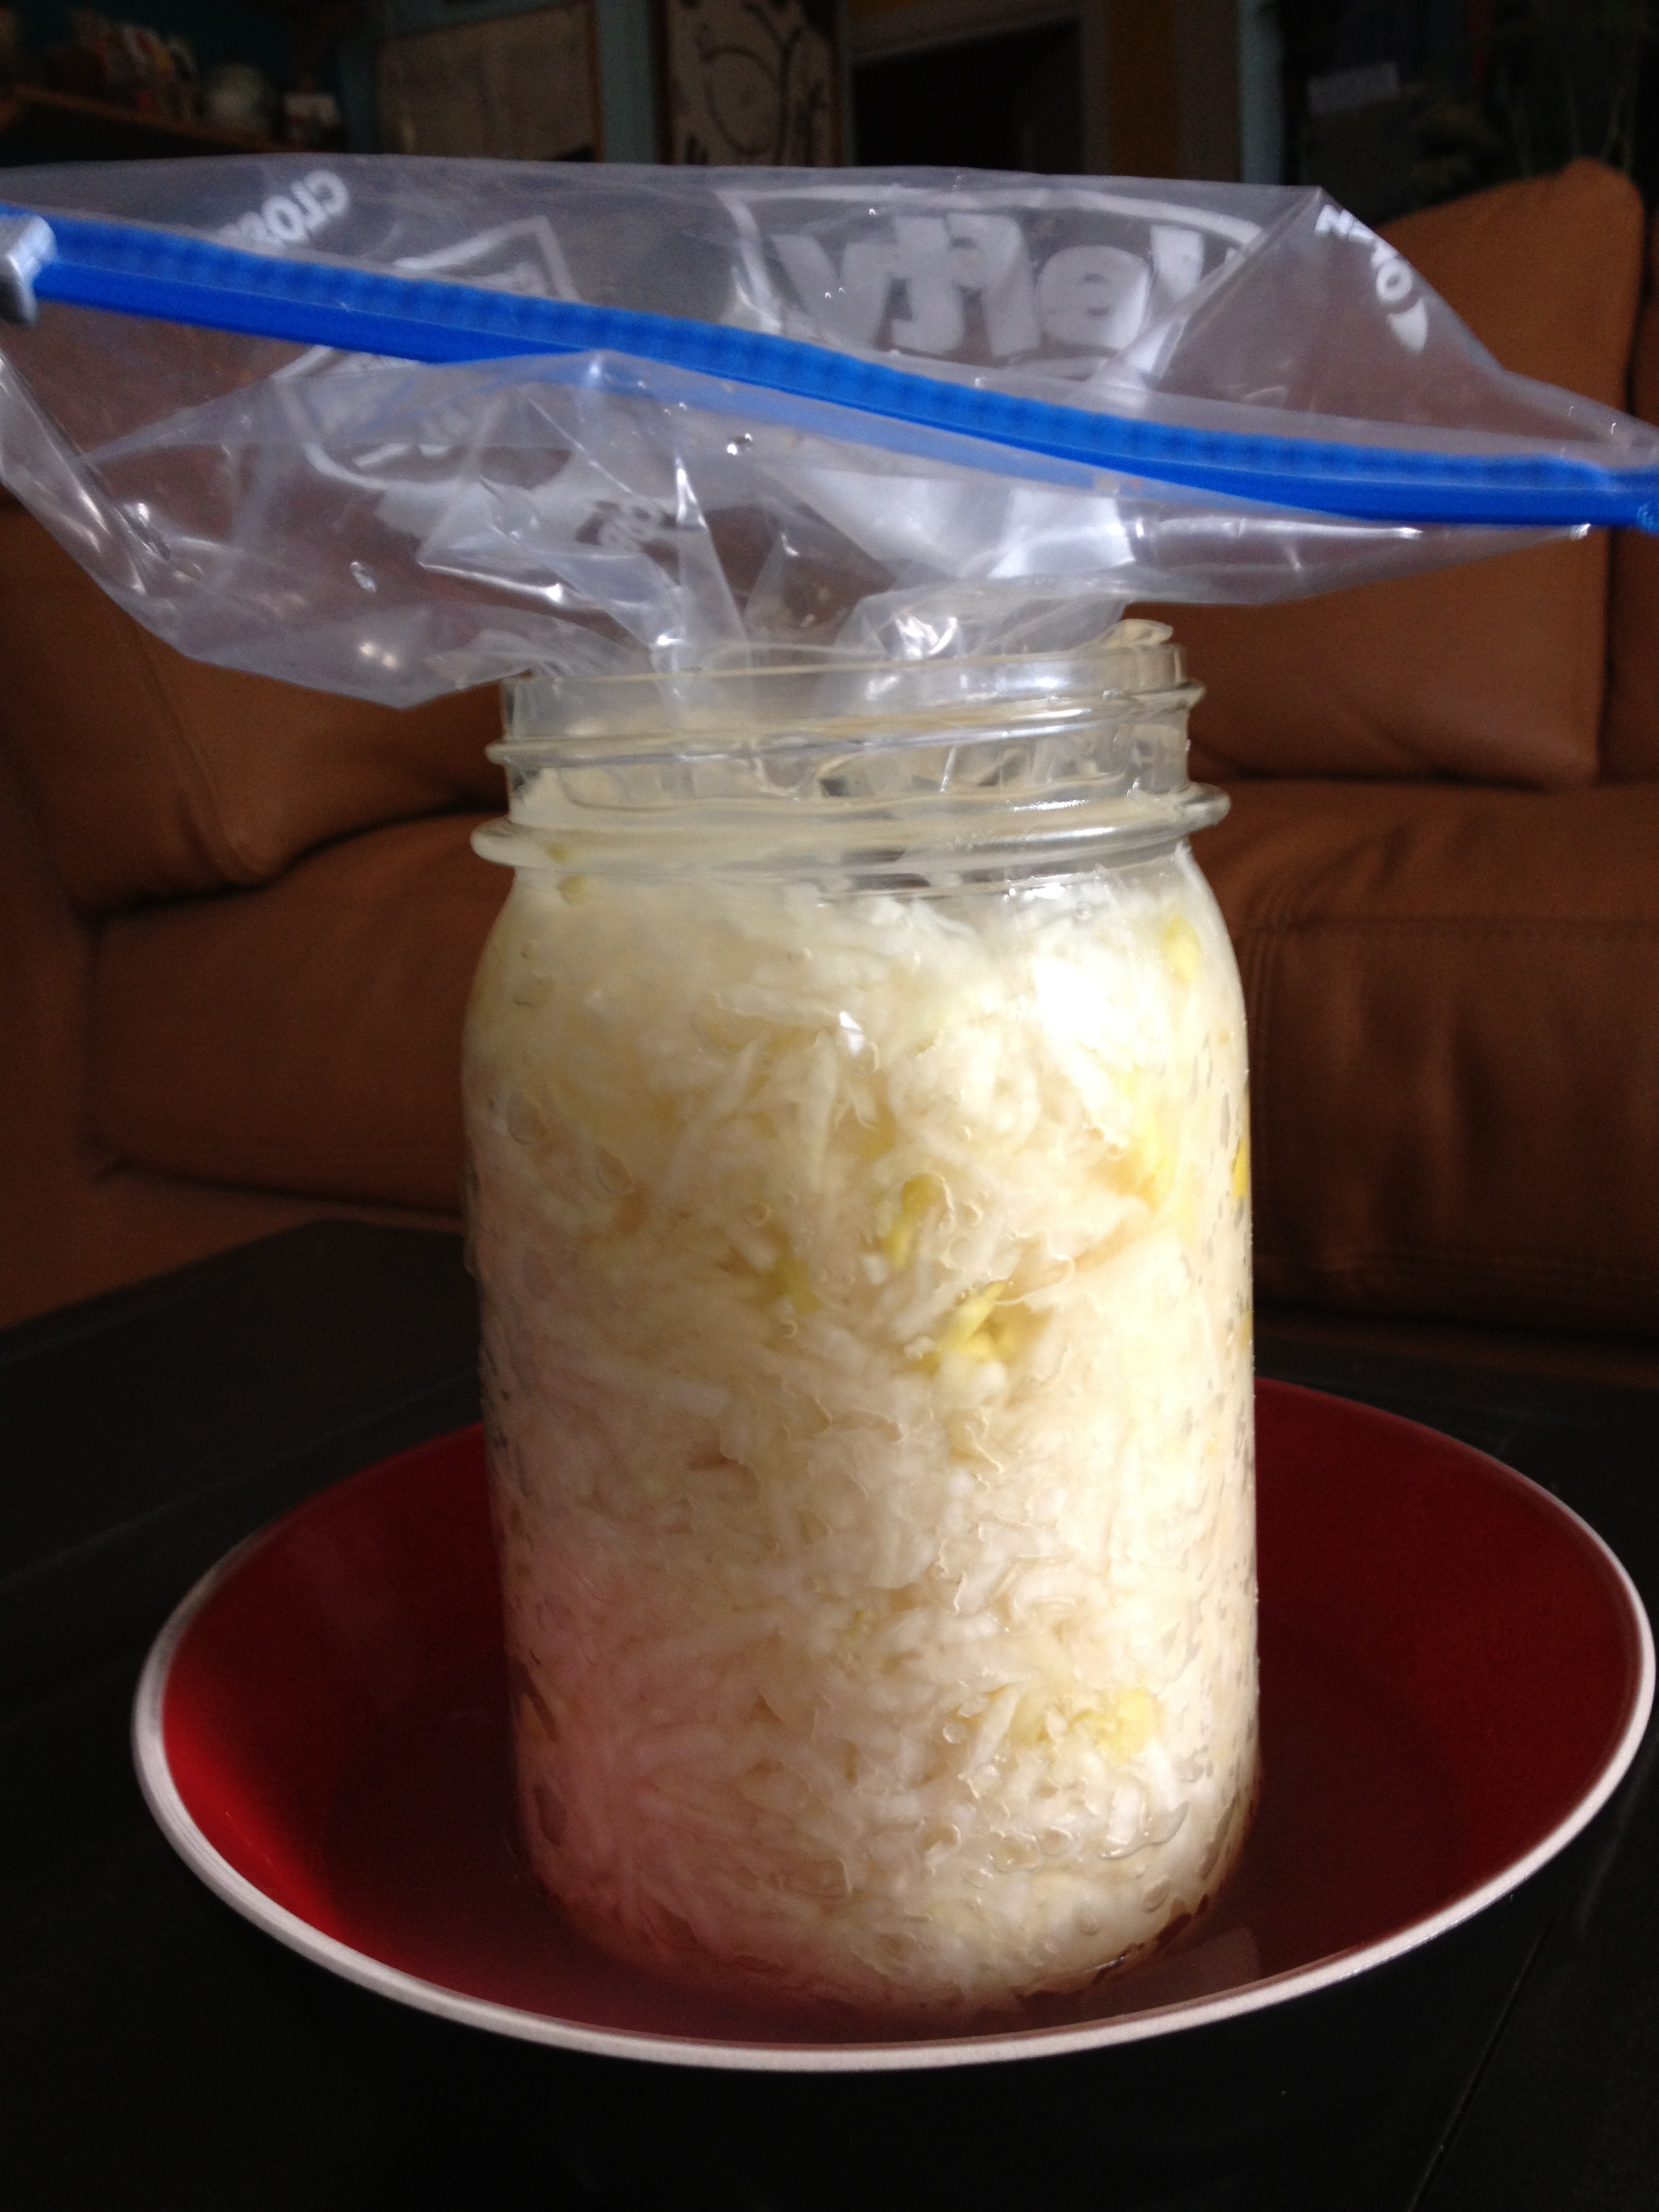
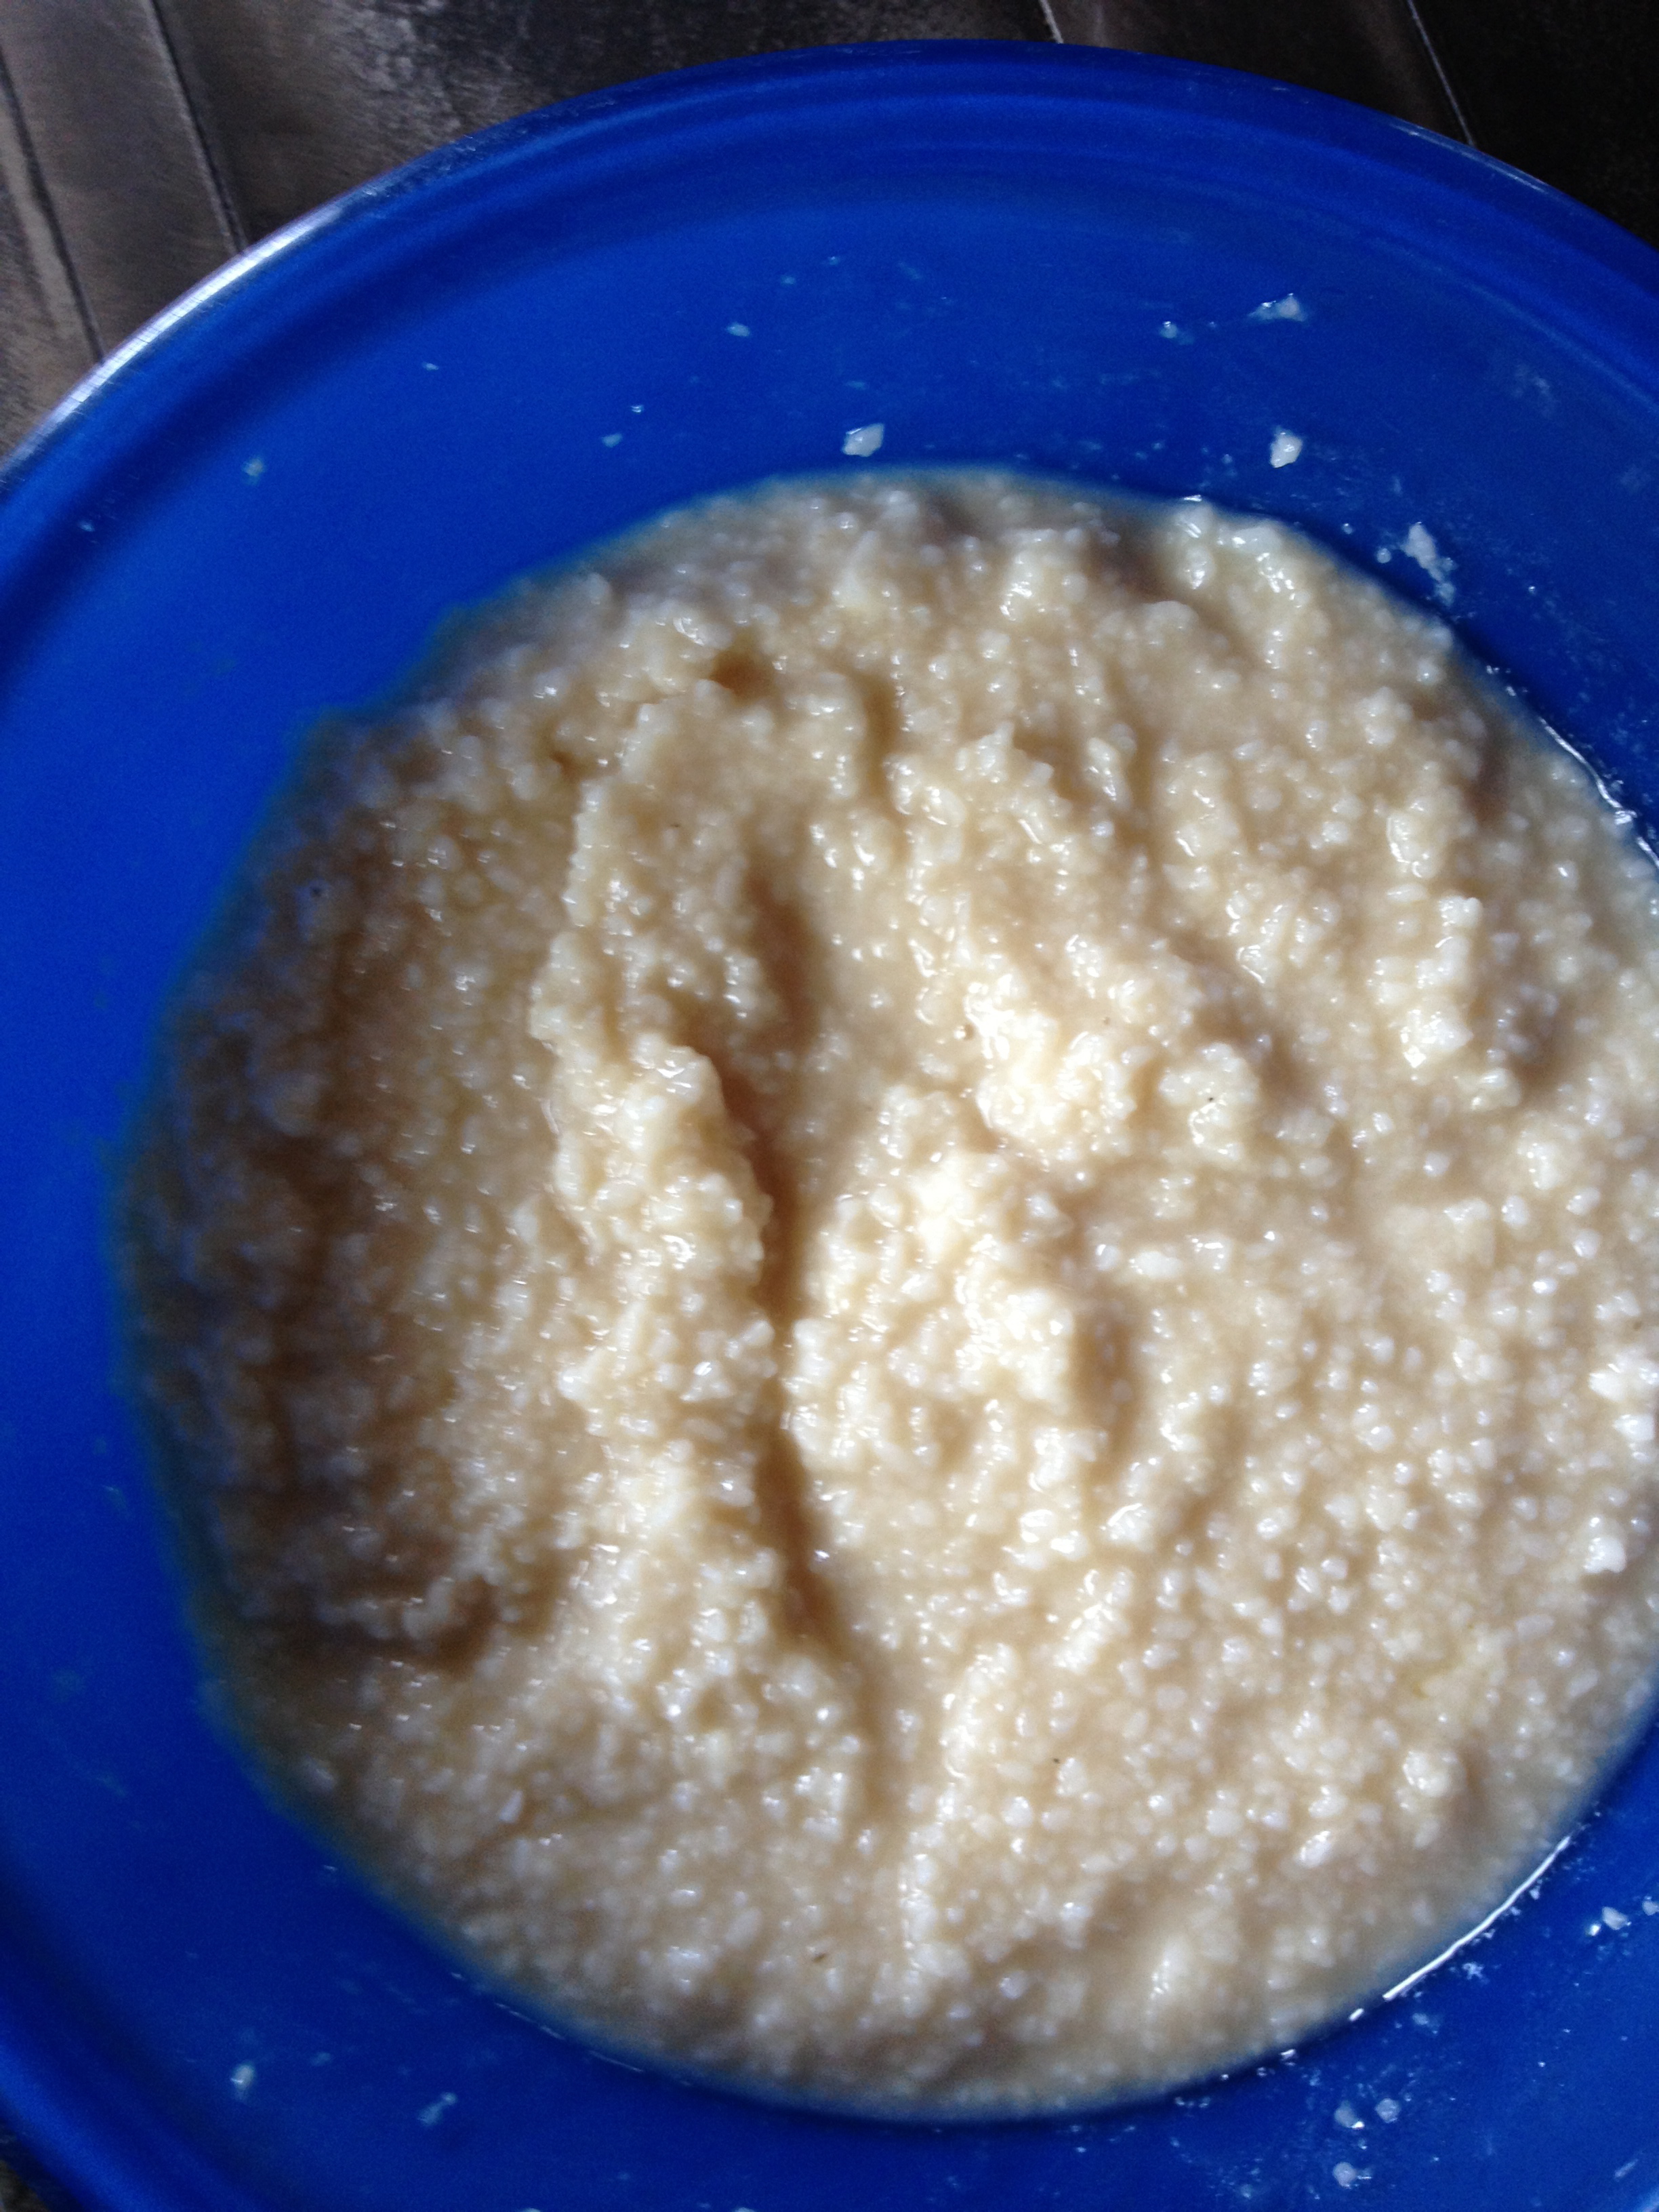
If you are looking to add more fermented foods into your diet this summer, try making shio-koji(salt koji).  It’s uber-easy and extra tasty. Koji, rice inoculated with the Aspergillus oryzae spores, is commonly used in making traditional Japanese fermented foods like miso, sake and soy sauce, but it is also used to make this salt seasoning which is made from just three ingredients: koji, salt and water. Left on the kitchen counter for one to two weeks, and stirred once a day, it will ferment into sweet/salty creaminess.

IMG_0465

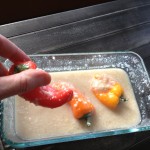
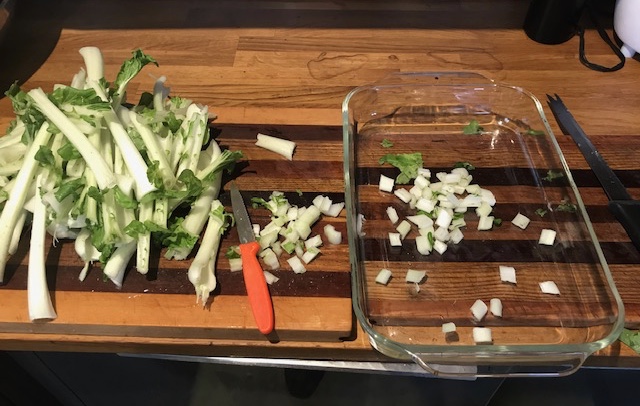
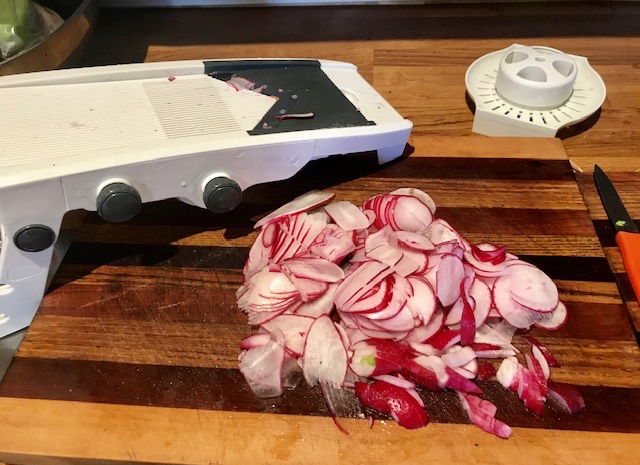
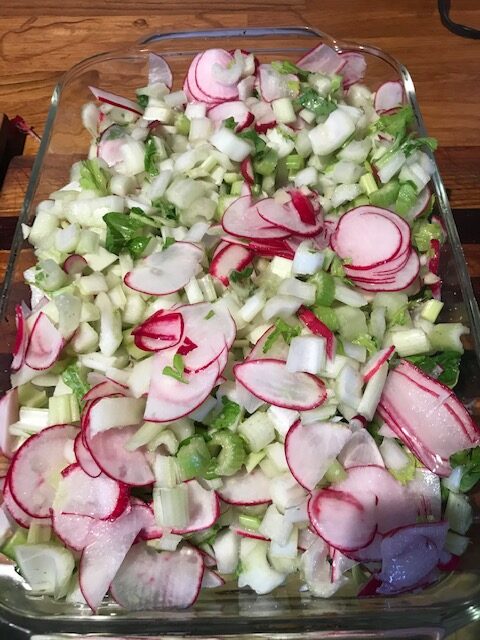
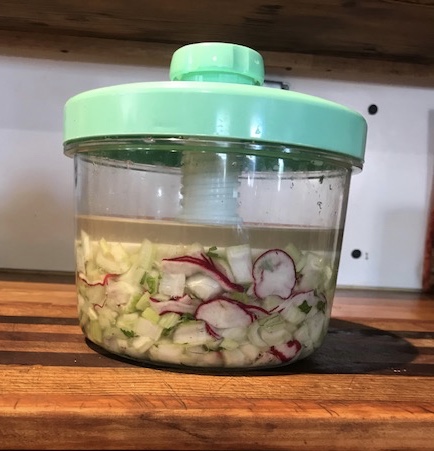
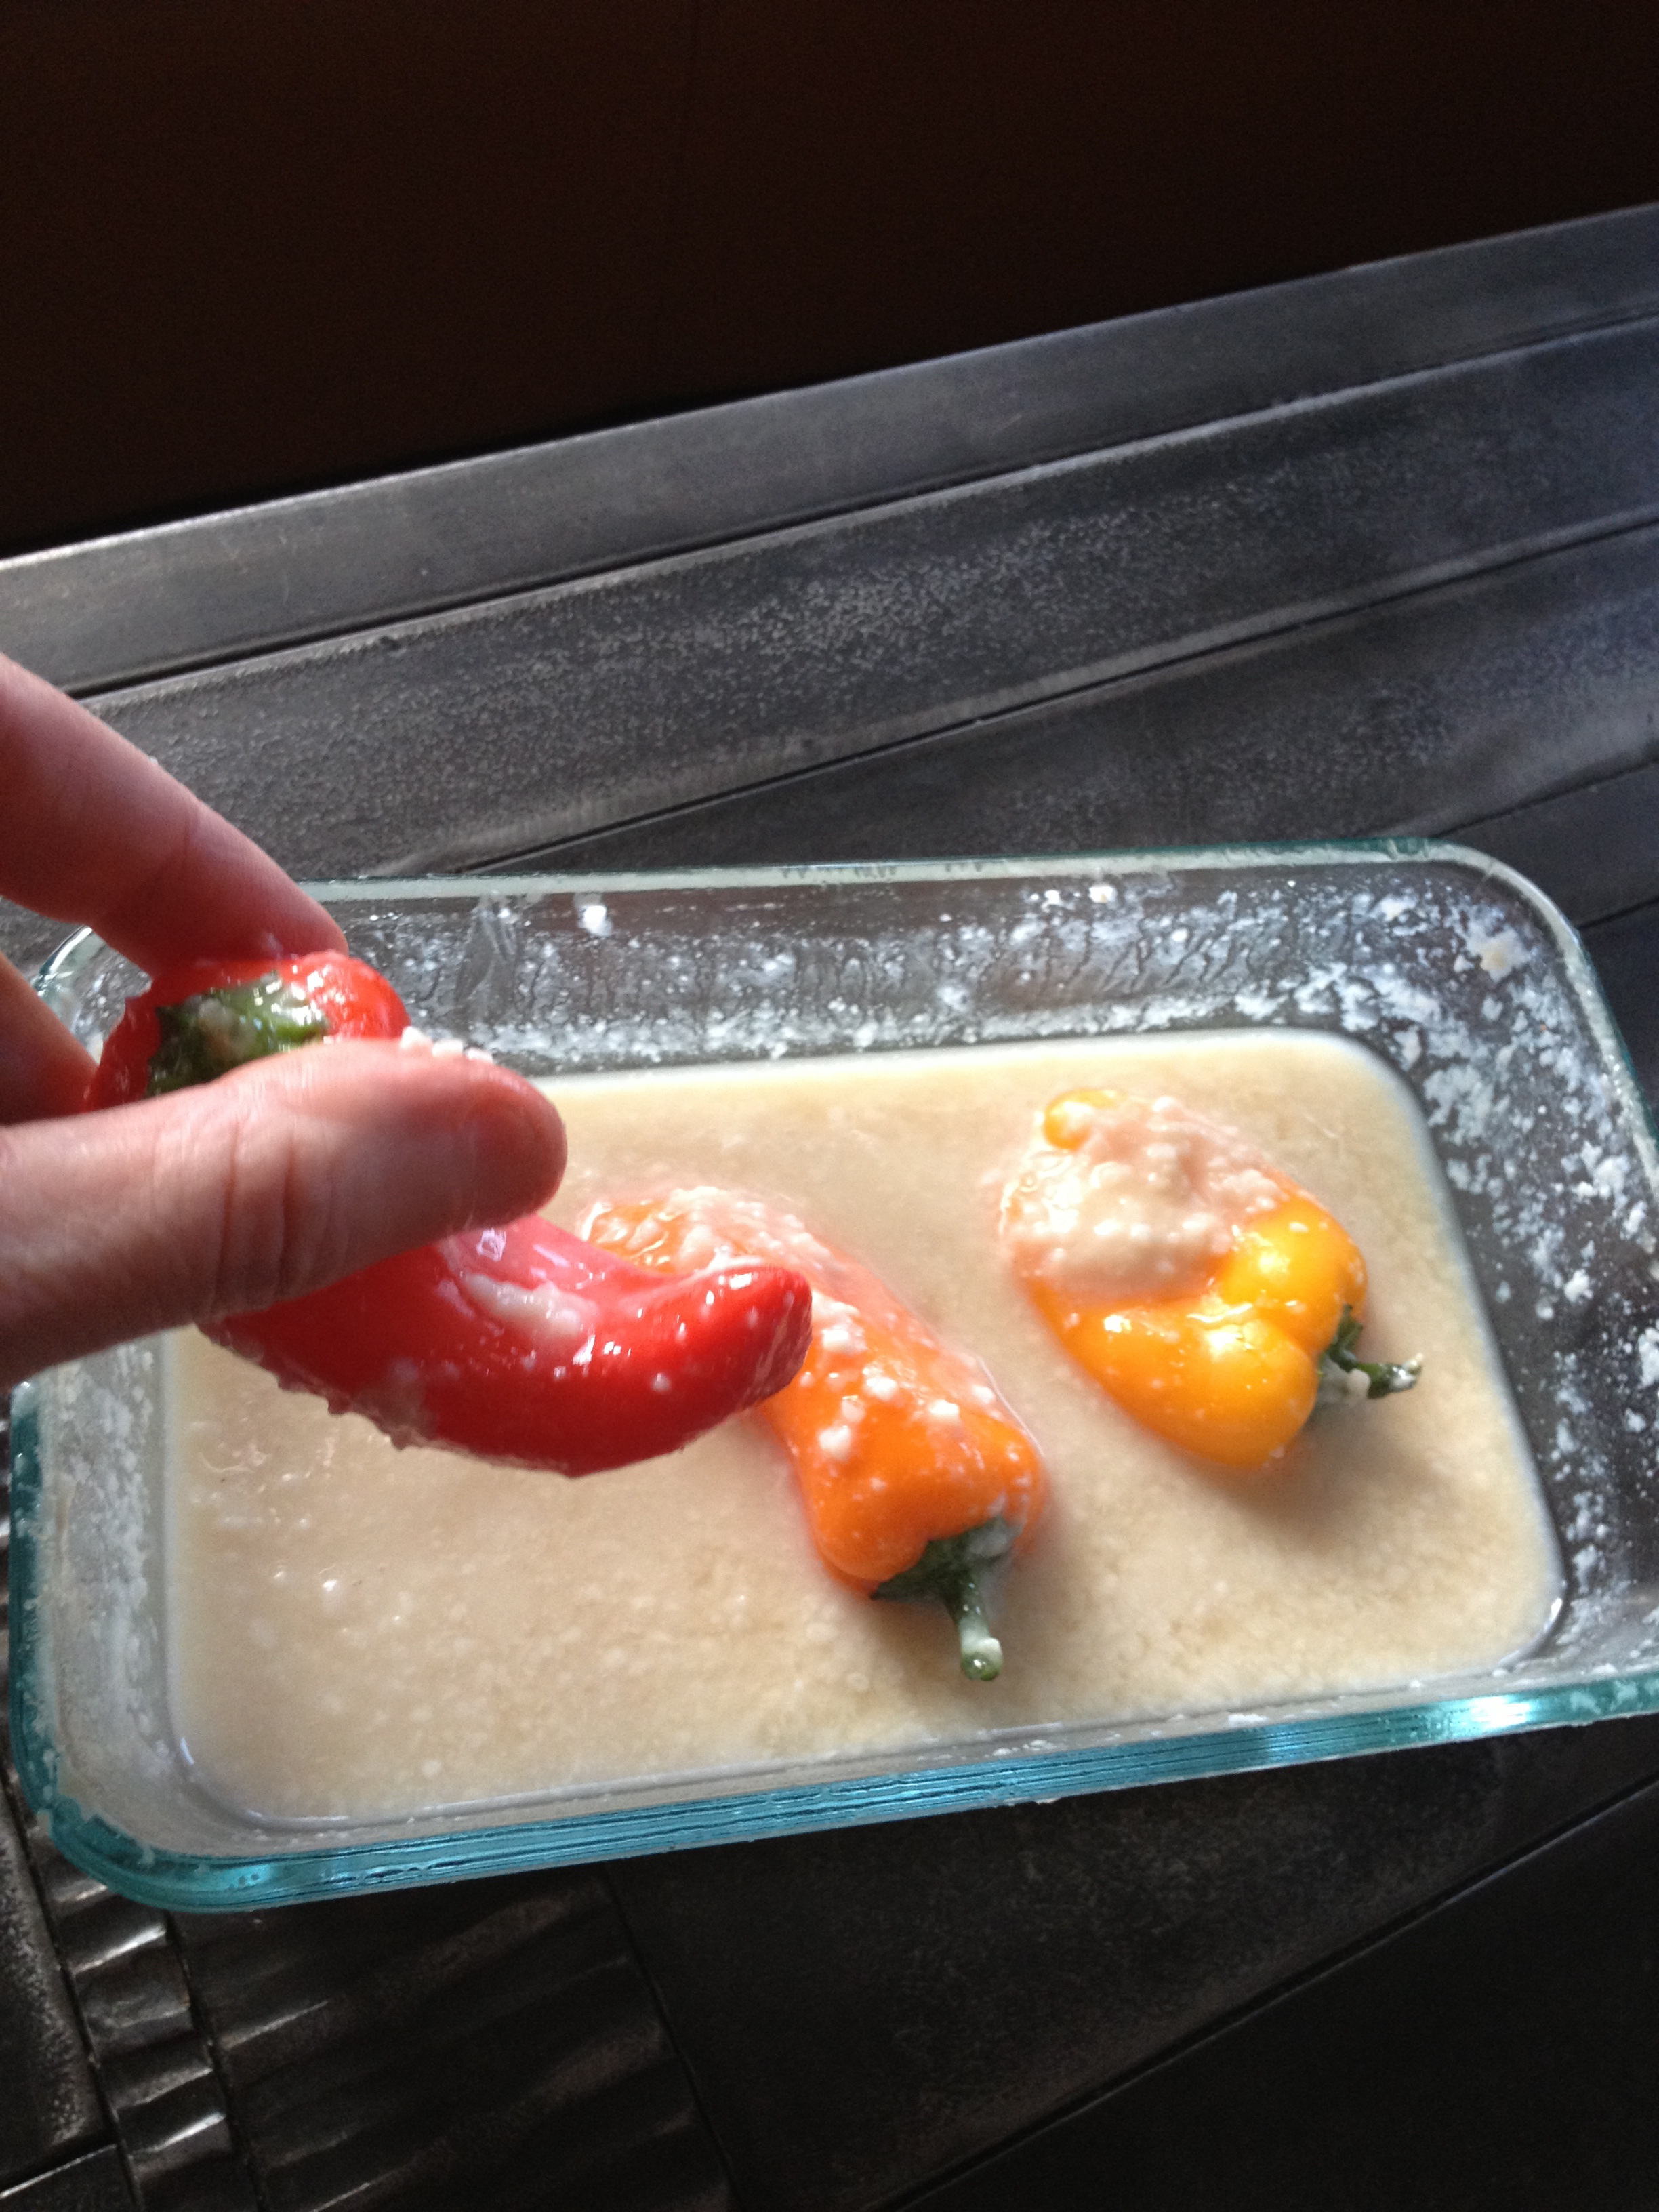
Although it can be used  simply as a salt substitute on all foods, one of my favorite ways to use shio-koji is for an overnight ferment on garden vegetables like root vegetables (especially radishes and turnips), or sugar snap peas, peppers and cucumbers.  Immerse vegetables (whole or sliced) into the mixture; the next day serve them as side dishes to meals or add them in salads.

IMG_0620

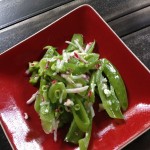
On raw salads, I enjoy using shio-koji is as a stand alone addition or in a dressing of olive oil and rice wine vinegar.  One tablespoon will give that mystifying savory sweet & salty umami taste which will keep your dinner guests guessing and wanting more.

A common and delicious way to use shio-koji is as a marinade for tofu, beef, pork, chicken or fish.  It tenderizes and brings out natural umami. Just coat your tofu, meat or fish with the shio-koji and put it in the refrigerator overnight, then bake or grill.

I know I sound all ga-ga about shio-koji, just like the nukazuke pickles, but it’s the kind of stuff I love having around my kitchen because it lends itself to experimentation and fermentation is my preferred method to get probiotics into my body.  With lots of fresh garden veggies and summer grilling, shio-koji brings sparkly savory sweet/salty flavors to the table.  If you make shio-koji, let me know all the ways you use it.

You can buy koji at most Asian Markets in the refrigerated section. Cold Mountain sells Koji in a 16 ounze container. I like to double or triple this recipe for a larger batch. This is a 6 ferment which lasts longer than a 3 percent ferment and has a sharp clean flavor.

Shio-koji Recipe

from Miso, Tempeh, Natto and other tasty ferments by Kristen and Christopher Shockey

3 tablespoons salt

1.5 cups dried koji

2-3 cups water, boiled and cooled, to fill quart jar.

Mix salt and koji in a bowl and mix well. Place mixture in quart jar and add water.  Cover with cheesecloth and secure with rubber band.  Ferment for 1-2 weeks.  Outside temperatures will influence how long it takes to ferment.  Stir every day.  It’s ready when the sharply salty taste balances with a sweet taste. Keep in refrigerator in glass container with lid.