 Months before our epic John Muir Trail hike last summer, I experimented with making homemade energy bars; the goal being to bring along tasty nutrient rich snacks that could fuel us on our calorie burning days. I scoured all the energy bar recipes on the web and closely inspected the ingredients lists on the huge array of protein/power/nutrition/ raw bars sold at my local food coop. I was most interested in what manufacturers were using as binders to hold bars together. After my research and experiments, I found what worked best for me was using a combination of dried dates or apricots, chia seeds, honey, nut butters, apple sauce and coconut oil. Because I favor raw foods, I used a dehydrator instead of an oven to retain the most nutrition, and preserve the energy bars. Be assured that the chewy texture was not compromised from being dehydrated.
As we prepared for our hike, I brought along samples of my energy bars for my hiking partners to try out on our training hikes which helped me refine my recipes. Although I wasn’t scientific about calculating their carbohydrate, protein and fat ratios, they were definitely satisfying. I can attest that once we were on the John Muir Trail, these energy bars did fuel me up all the mountain passes and kept me going on long mileage days. They traveled well in high heat, held their shape and performed admirably on a caloric level, so much so that we ate far fewer of them than anticipated. Whether you are hiking or not, it’s handy to have these bars around as snacks or additions to lunches.
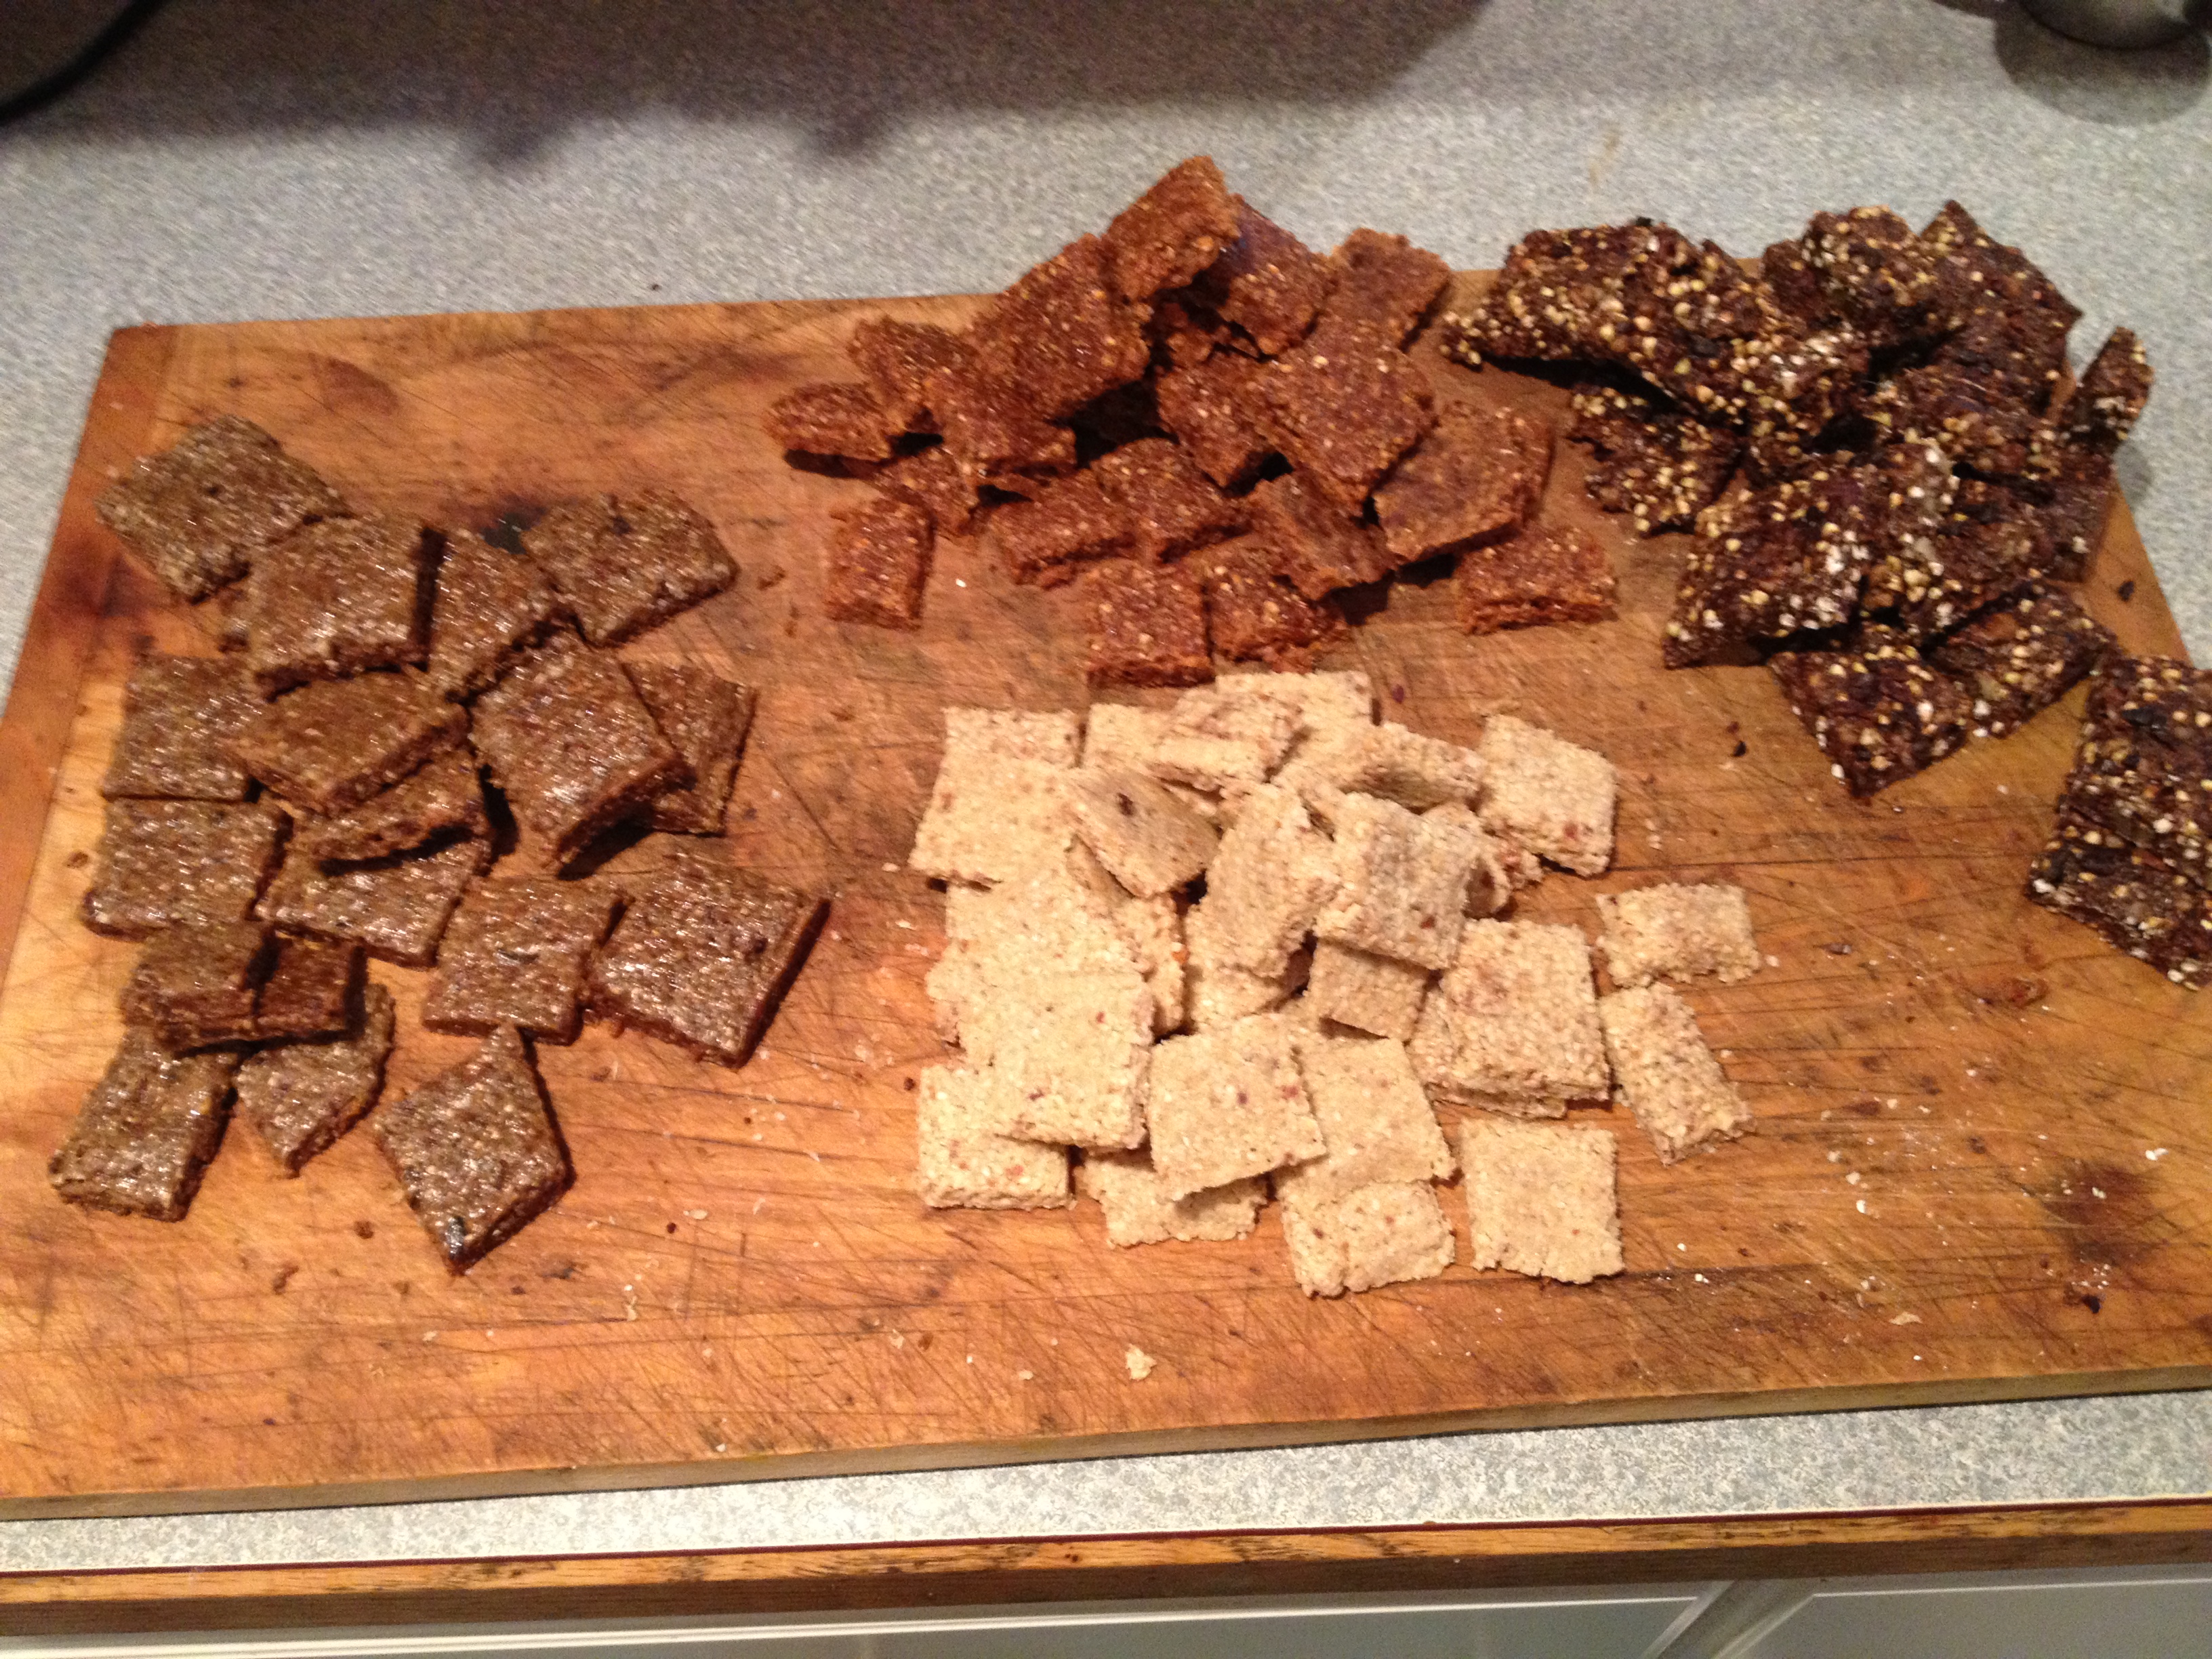
The following recipes, although all yummy, are listed in order of popularity. Use my recipes as a guideline for proportions but make substitutions for different protein powders, nuts, seeds or dried fruit if you have a different preference. Store them in glass sealed containers or, if traveling, you can vaccuum pack or keep them in Ziploc plastic bags.
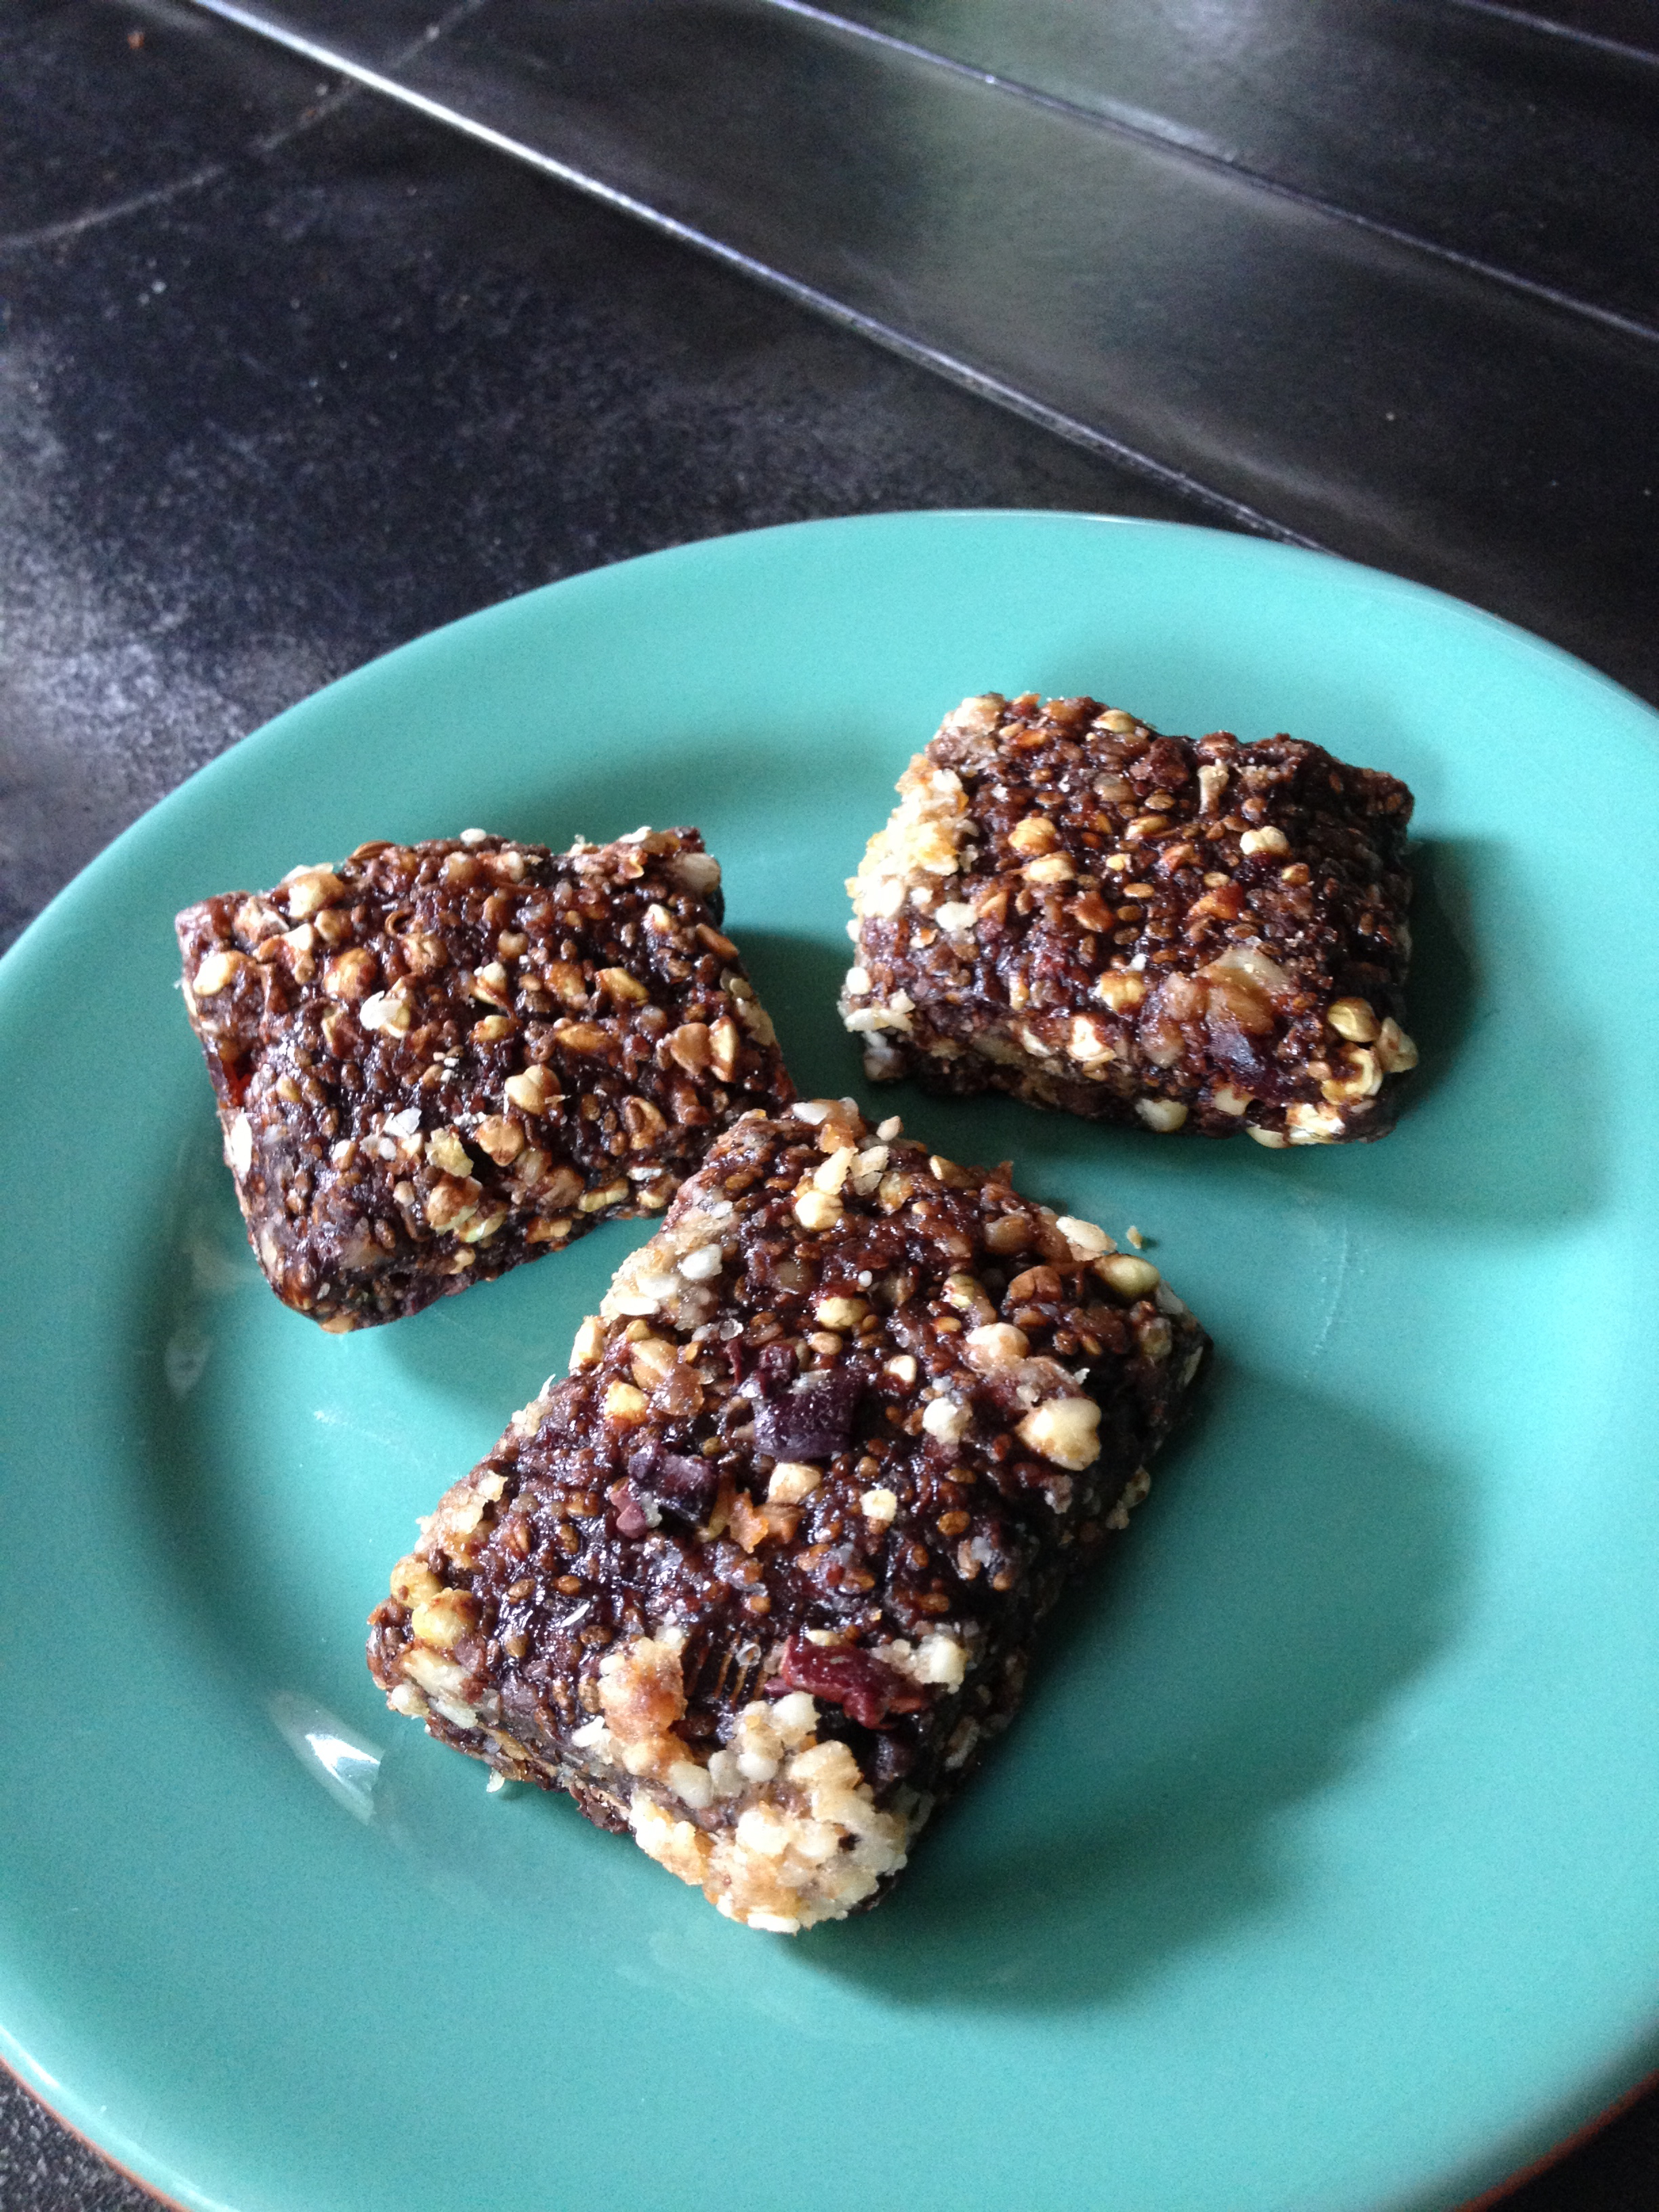
Sprouted Buckwheat & Carob Energy Bar
The sprouted buckwheat offers a nice crunchy texture and Carob satisfies chocolate lovers.
1 cup dried dates (soaked)
1 cup almond meal
1 cup whey protein powder
1 cup walnuts
2 cups sprouted buckwheat groats
½ cup Chia seeds (soak ½ cup chia seeds in 1 cup water)
¼ cup carob powder
½ cup cacao nibs
¼-1/2 cup honey
pinch salt
Instructions
Sprout your buckwheat groats. I place my grouts in a colander to sprout so it is easy to rinse.
Soak ½ cup chia seeds in 1 cup water. Wait ½ hr.
In Cuisine art, pulse walnuts into small chunks. Put aside
In Cuisine art, pulse soaked dates into a paste.
In mixing bowl, mix together all of the above ingredients until they all stick together. Transfer and flatten mixture to ½”-5/8” on dehydrator trays covered with either parchment or non-stick dehydrator sheets on them. Use a pizza cutter to cut energy bars into a grid of whatever dimensions you prefer, but don’t cut all the way through so you can easily flip it later. Set temperature on dehydrator to 115 degrees and dry for 12 hours. After 12 hours, flip the whole mass onto the trays and peel away the non-stick dehydrator sheets so bars will dehydrate completely. Dry for another 12 hours or longer until energy bars have no more moisture. Use a knife to slice energy bars into separate pieces. Store.
Sesame & Cashew Chew Energy Bar
I cup Cashews
1 cup Sesame seeds
I cup dates (soaked)
½ cup coconut flakes
¼ cup honey
1 inch grated ginger
pinch of salt.
In Cuisine art, blend cashews into a meal (put aside)
In Cuisine art, pulse soaked dates into paste
After making date paste, add cashew meal and then all the rest of the ingredients in Cuisine art. Blend into a sticky mixture. Dehydrate at 115 degrees. Follow same instructions on dehydrating in above recipe.
Apricot Oat Energy Bar
1 cup dried apricots (soaked)
½ cup applesauce
1 cup quick oats
1 cup almond butter
½ cup honey
½ cup coconut flakes
1 tsp vanilla
pinch of salt.
In Cuisine art, pulse soaked apricots into paste. Add all the rest of the ingredients in Cuisine art and blend into sticky mixture. Dehydrate at 115 degrees. Follow same instructions on dehydrating in above recipe.